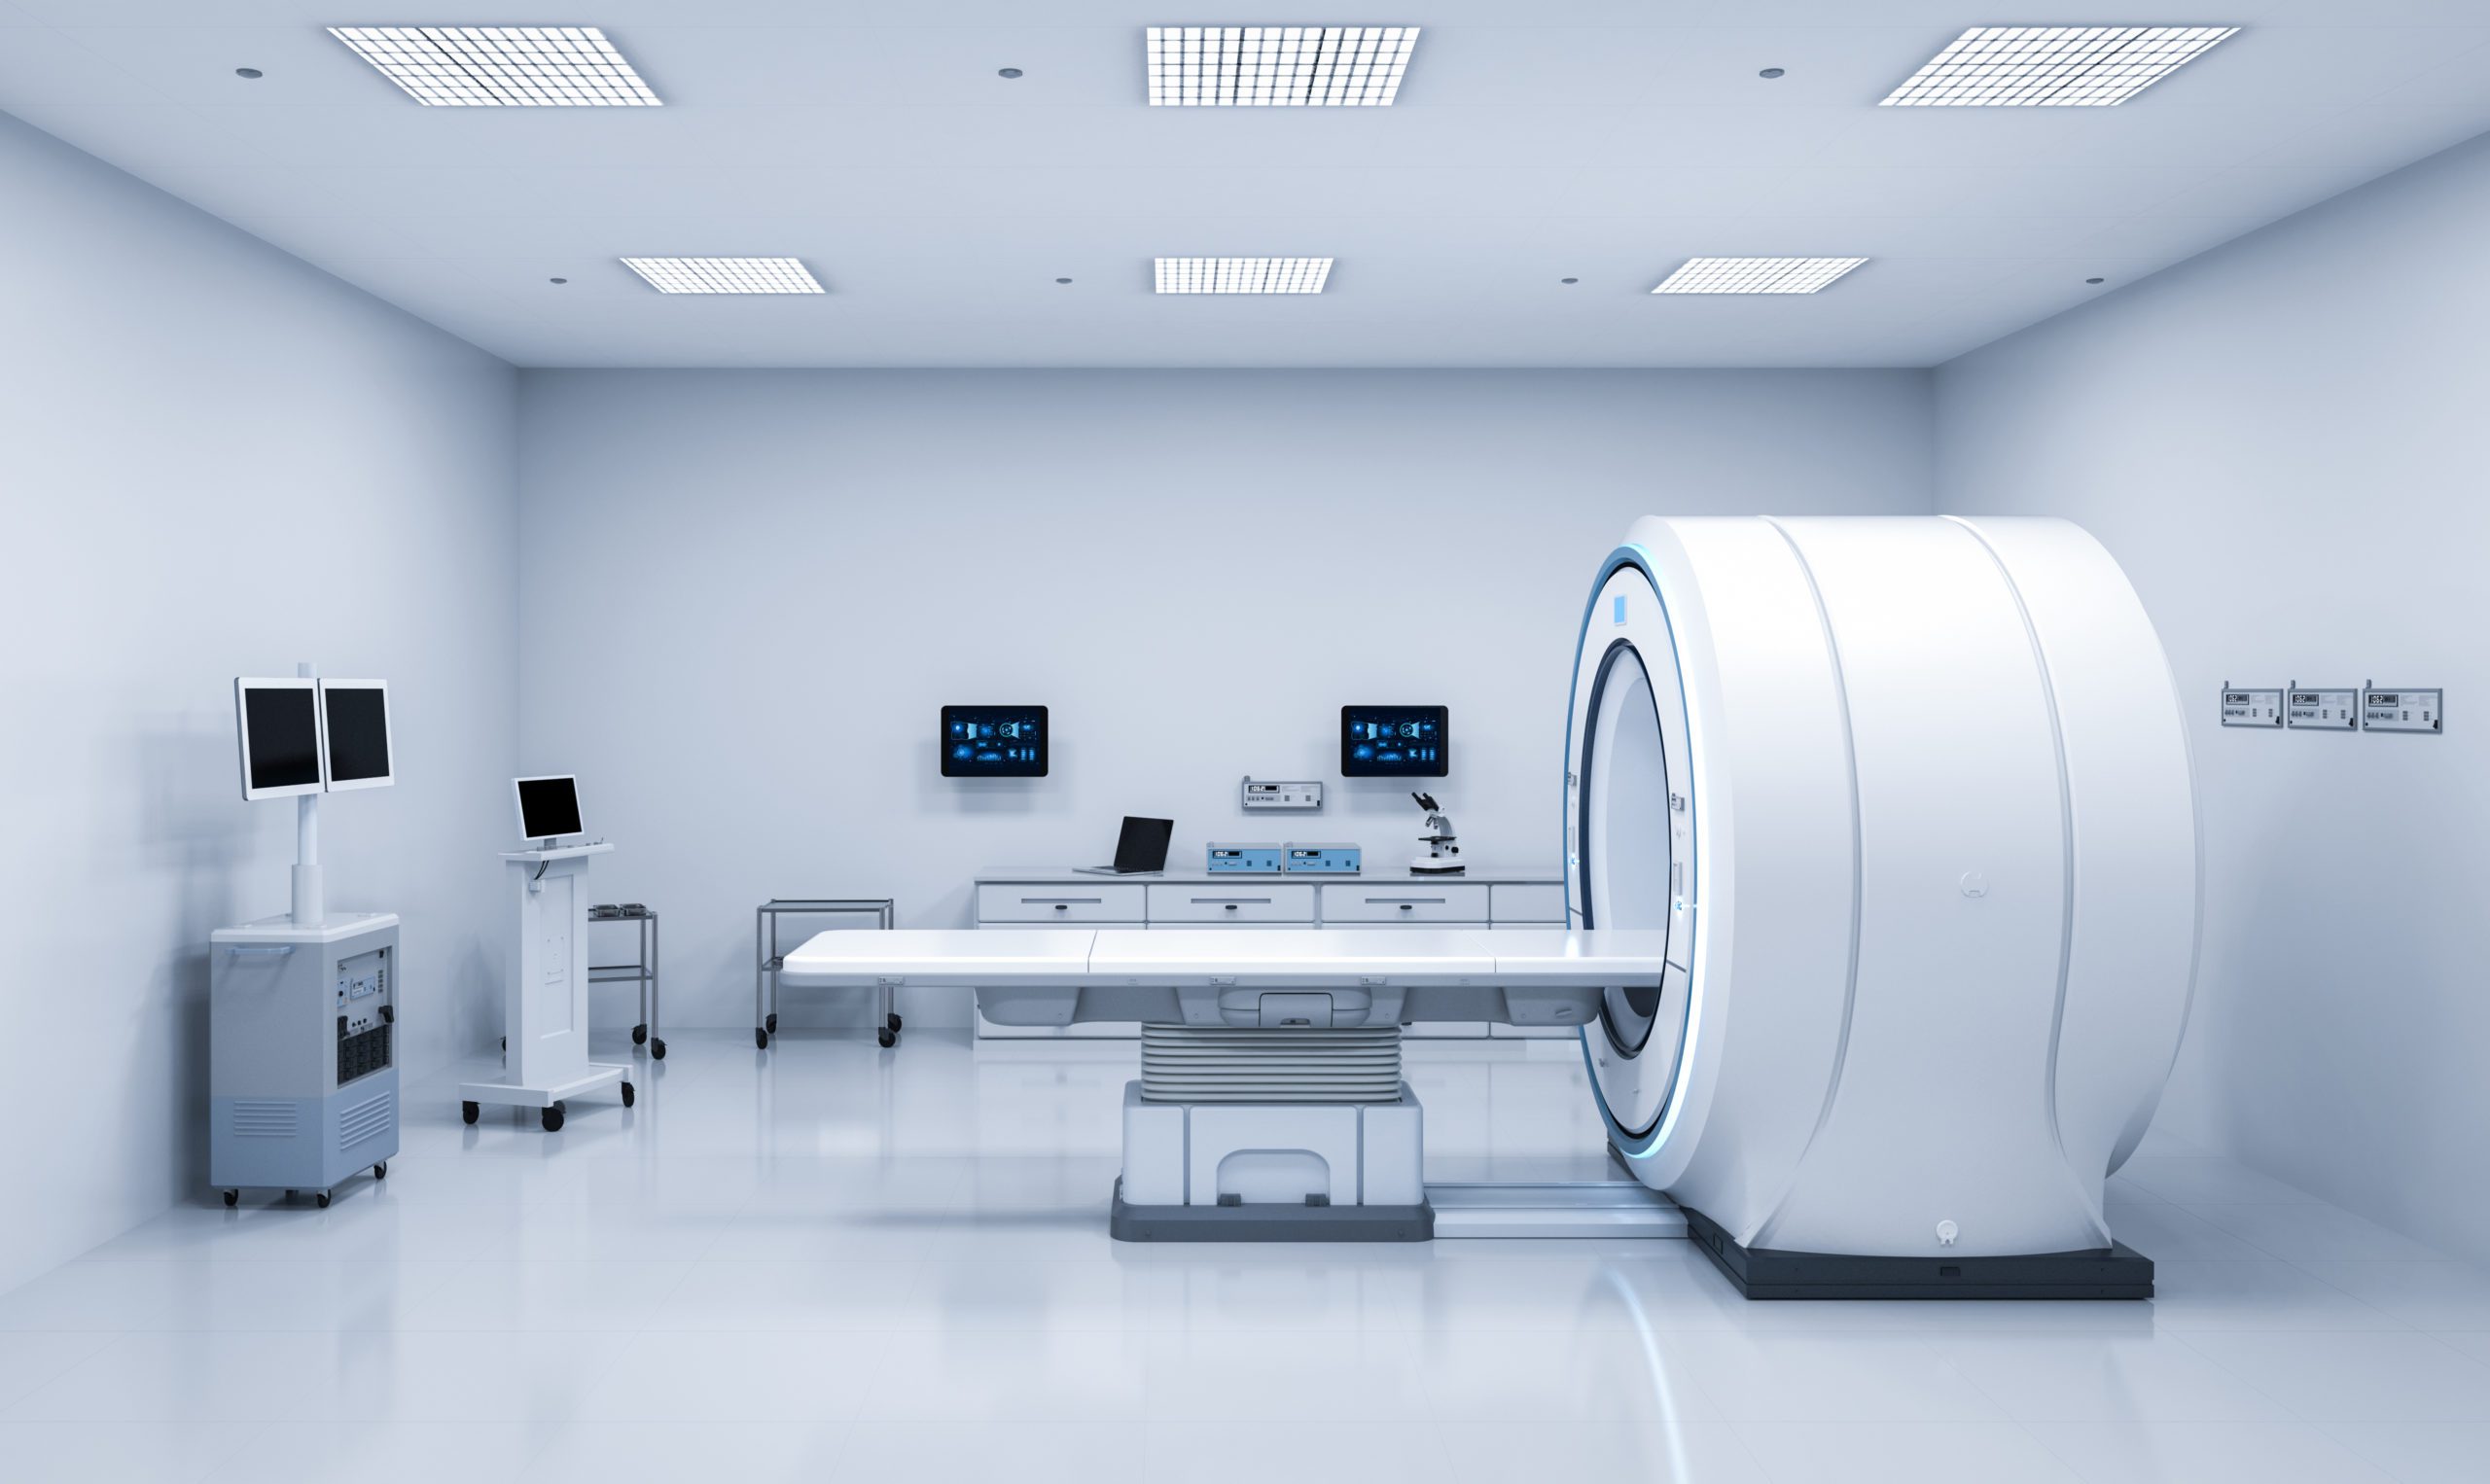
Imaging appointments, such as X-rays and MRIs, are vital for diagnosing and monitoring medical conditions. Preparing for these appointments can feel overwhelming, so we will explore different imaging procedures, offer tips on how to prepare, explain what to expect during the process, and provide guidance on what to do afterward.
What Is an Imaging Appointment?
An imaging appointment, such as an MRI or CT scan, is essential for diagnosing various health concerns. These advanced techniques capture detailed images of internal structures and are typically scheduled by your healthcare provider in Edmond or other locations.
Why Do You Need an Imaging Appointment?
You might need an imaging appointment, like an MRI scan, to diagnose or monitor various medical conditions and address patient concerns. Different imaging procedures include MRI technology, which uses magnets and radio waves for detailed images; CT scans, which use X-ray beams to create cross-sectional images for identifying bone and tissue abnormalities; and X-rays, which quickly capture images of bones to detect fractures or other issues.
Preparing for Your Imaging Appointment
Proper preparation is key to ensuring a smooth MRI appointment, with specific steps tailored to the procedure.
- Follow Pre-Appointment Instructions: Follow the instructions from your healthcare provider, especially if your MRI involves contrast dye. This may include fasting and informing your provider about any medical conditions or allergies to prevent adverse reactions.
- Bring Necessary Documents and Forms: Bring your medical history, insurance details, and previous imaging reports. This information helps the radiologist interpret your images accurately and ensures a smooth process.
- Wear Comfortable Clothing: Wear loose-fitting clothes without metal zippers or buttons to avoid interference with the MRI machine. You may need to change into a medical gown provided by the facility.
- Avoid Certain Foods and Drinks: Avoid foods high in metal content, caffeine, alcohol, and sugary snacks before your MRI, especially if contrast dye will be used. Follow these dietary restrictions 4-6 hours before the appointment to ensure accurate imaging.
- Arrive Early: Arrive early to complete necessary forms, discuss the procedure with your healthcare provider, and address any last-minute concerns. This helps reduce stress and ensures a smooth appointment.
What to Expect During Your Imaging Appointment
Check-In Process
During check-in, you’ll confirm your details with the healthcare provider and complete any remaining preparation steps. You may need to sign consent forms to acknowledge the risks and benefits of the procedure. The healthcare team will give you specific instructions, such as removing jewelry or changing into a hospital gown. This is also a good time to ask any questions or address concerns.
Changing into a Gown
For procedures like an MRI scan, you’ll need to change into a gown to ensure no metal objects interfere with the machine. Metallic objects like zippers, jewelry, and underwire bras can distort the magnetic field and affect the quality of the images. Wearing a metal-free gown ensures a clear and accurate scan.
Explanation of Procedure
Before the procedure, the healthcare team will explain how MRI technology works, using radio waves and magnetic fields to create detailed images of internal structures. Understanding the process can help ease any anxiety. This explanation ensures you feel informed and comfortable, promoting cooperation and minimizing unexpected movements during the scan.
After Your Imaging Appointment
Follow Post-Procedure Instructions
If your MRI involved contrast dye, follow your healthcare provider’s instructions to avoid adverse reactions and aid in recovery. Stay hydrated to help flush the dye from your system. Watch for unusual symptoms like itching, rash, or difficulty breathing, which could indicate an allergic reaction and require immediate medical attention. Avoid strenuous activities as recommended by your provider to allow your body to recover fully.
Ask for Copies of Your Images
After your appointment, request copies of your imaging studies for your records. These images are valuable for tracking your health over time, changing healthcare providers, or seeking a second opinion. Having your own records empowers you to actively participate in your care decisions and discussions.
Follow Up with Your Doctor
Schedule a follow-up appointment to discuss the results of your imaging, understand your diagnosis, and receive further education on any medical conditions. This visit allows you to ask questions, explore treatment options, and receive personalized care advice. It’s an opportunity to address concerns, review medications, or discuss lifestyle changes that can positively impact your health. Your doctor can provide updates on your condition and ensure you are on the right path to managing your health effectively.


